
In today’s technologically advanced world, laptops are the most important gadgets. Whether using the devices for work, study, or play, it is important to maintain them on schedule. If you notice that your laptop is overheating or slowing down during normal use,. It may be time to replace the thermal paste in your laptop.
In this article, we will guide you on how to replace the thermal paste in your laptop.
What is thermal paste and why should we replace it?
Thermal paste keeps helping to transfer the heat from your laptop’s CPU and GPU to the cooling system. During long use, it can dry out and become less effective, which may cause your laptop to overheat. Replaced thermal past can improve cooling and overall performance.
Check your Laptop’s CPU temperature
For your laptop to remain faster and operate smoothly, you must keep an eye on its CPU temperature. It helps to identify overheating problems. Overheating can result in unintentional shutdowns, higher noise levels, and performance throttling. If you want to know how to replace the thermal paste in your laptop, before doing that, you should check your laptop temperature, To do this, read our article, How to Check Your Laptop’s CPU Temperature.
What you will need
- Screwdrivers: Usually Phillips heads.
- Thermal Paste: Good-quality. (Check The Best Thermal Paste on Amazon )
- Isopropyl Alcohol: 90% or higher.
- Cotton Swabs or Lint-Free Cloth: Cleaning old paste.
- Anti-Static Wrist Strap (Optional): To avoid static damage.
Step-by-Step Guide for how to Replace Thermal Paste in your Laptop
Remove Battery and Unplug
Start by turning off your laptop and unplugging it. If your laptop has a removable battery, take it out. Nearly all laptops these days have detachable batteries.
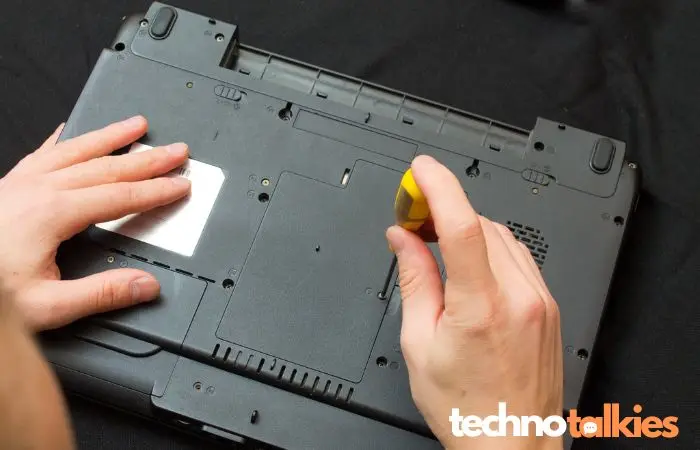
Open the Back Cover of Your Laptop
Locate the screws holding the bottom panel or access panel in place. Use your screwdriver to carefully remove these screws. Gently lift off the panel to expose the internal components. Some laptops might require you to remove several screws or panels.
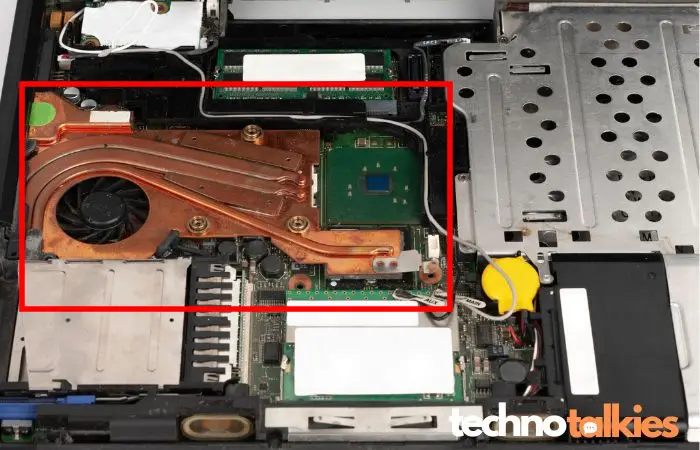
Open CPU Fan and Heat Sink
Look for the cooling system, which includes a heatsink and CPU fan. You may need to detach a few screws to open it. Carefully unscrew and lift the cooling assembly off the CPU/GPU. Be gentle; old thermal paste might make it stick. If there are any cables connected to the fan, carefully unplug them.
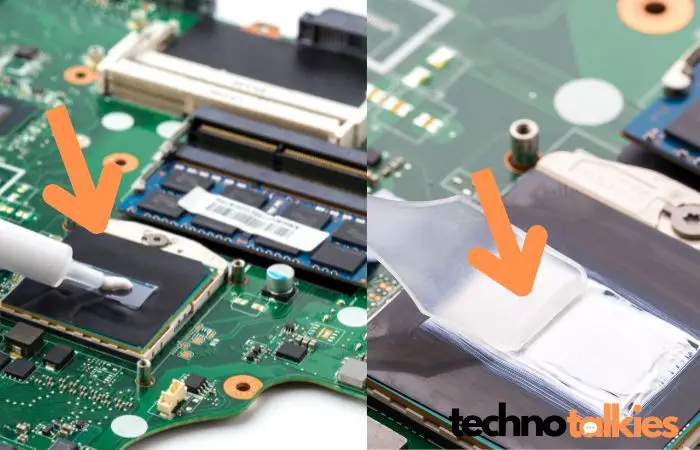
Clean Old Thermal Paste
Make wet a lint-free cloth with isopropyl alcohol 90%. Gently wipe away the old thermal paste from the CPU/GPU and the bottom of the heatsink. Make sure both surfaces are completely clean and dry before applying new paste.
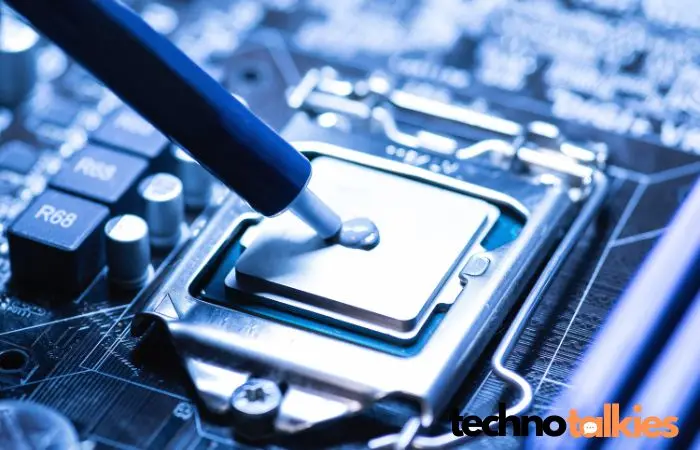
Apply New Thermal Paste
Squeeze a small, pea-sized amount of new thermal paste onto the center of the CPU/GPU. You don’t need a lot; just a small amount will do. The paste will spread out when you reattach the cooling assembly.
Reattach the Cooling Assembly
Carefully place the cooling assembly back over the CPU/GPU. Screw it back into place and reconnect any cables that were unplugged.
Reassemble Your Laptop
Replace the bottom or access panel and secure it with screws. Reinsert the battery if it was removed.
Power On and Check
Plug your laptop back in and turn it on. Use system monitoring tools to check the temperature and make sure everything is running smoothly. Your laptop should be cooler and quieter if the thermal paste is applied correctly.
Helpfull Tips:
- Handle with Care: Be gentle with internal components to avoid damage.
- Follow Instructions: Some laptops have a service manual, read carefully the specific disassembly instructions.
- Regular Maintenance: Checking and replacing thermal paste every 1-2 years can help maintain optimal performance.
Replacing thermal paste might be a little complicated for newbies, but with this step-by-step guide, you can keep your laptop cool and running efficiently.
If you’re unsure or not expert with the process, consider asking for professional help to avoid any damage.